Texture Painting

Texture painting enables us to use an image and project it onto an object as if we are using the colors on the image to reflect them onto the object:
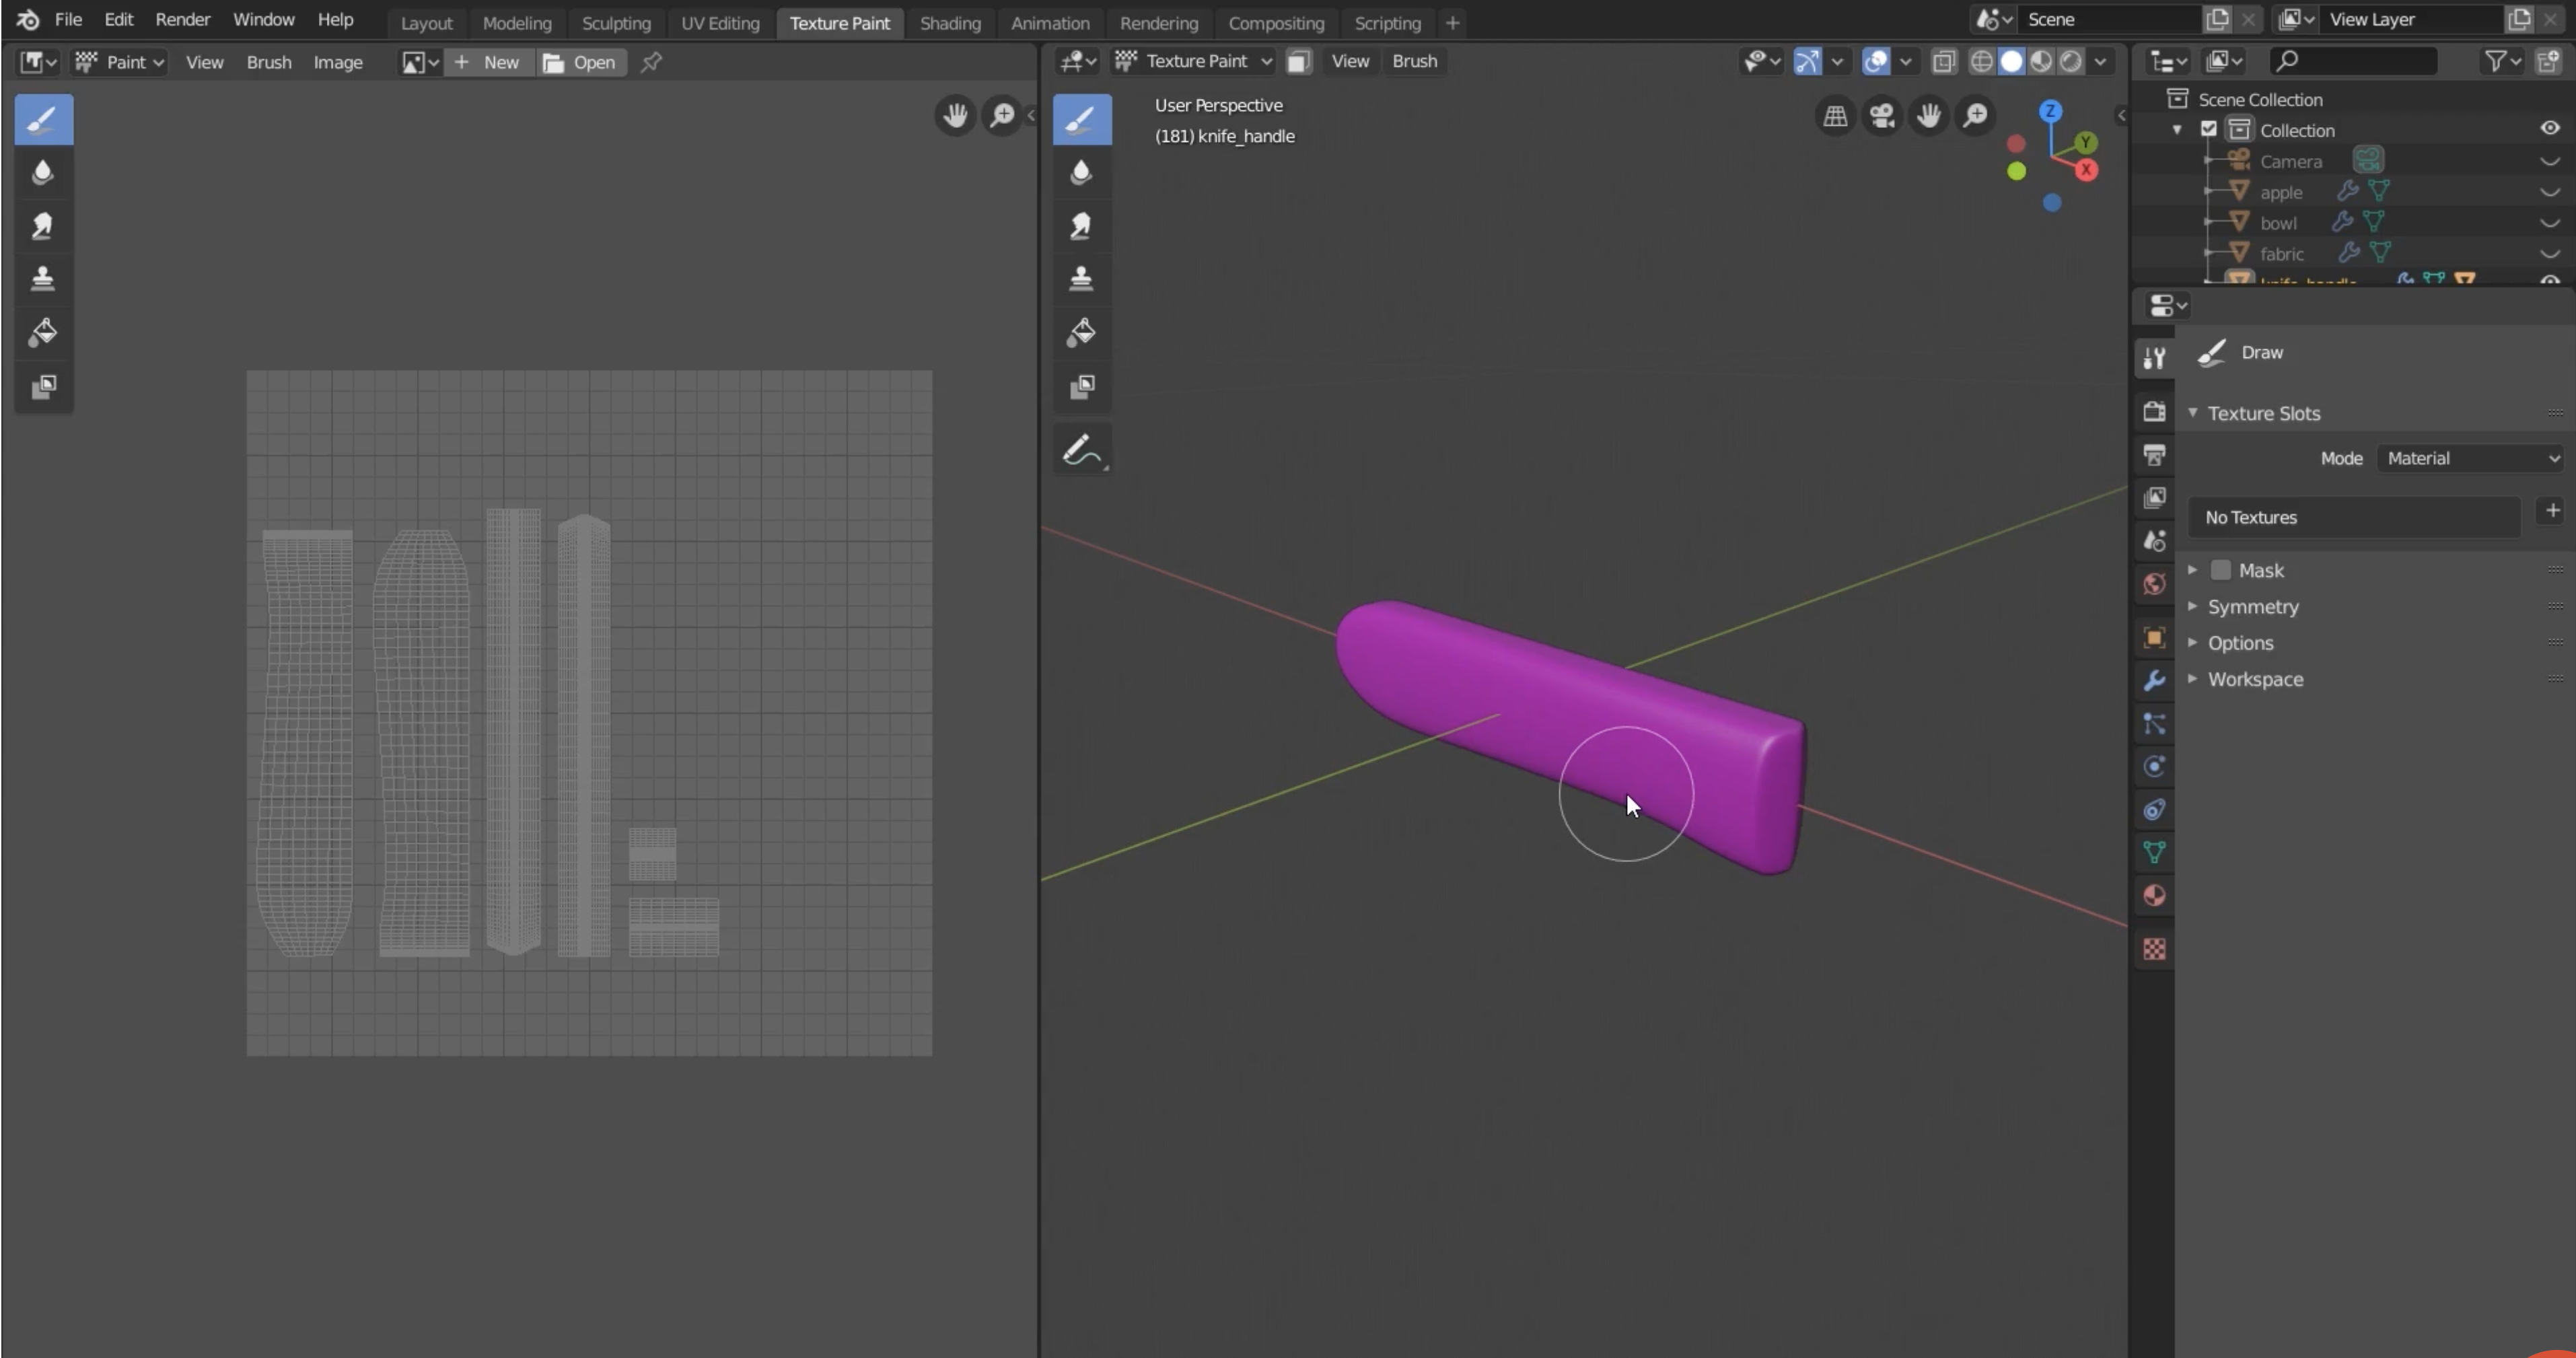
- Choose the ‘Texture Paint’ view on the right hand side
- Choose the ‘Image Editor’ view + Pain option on the left hand side
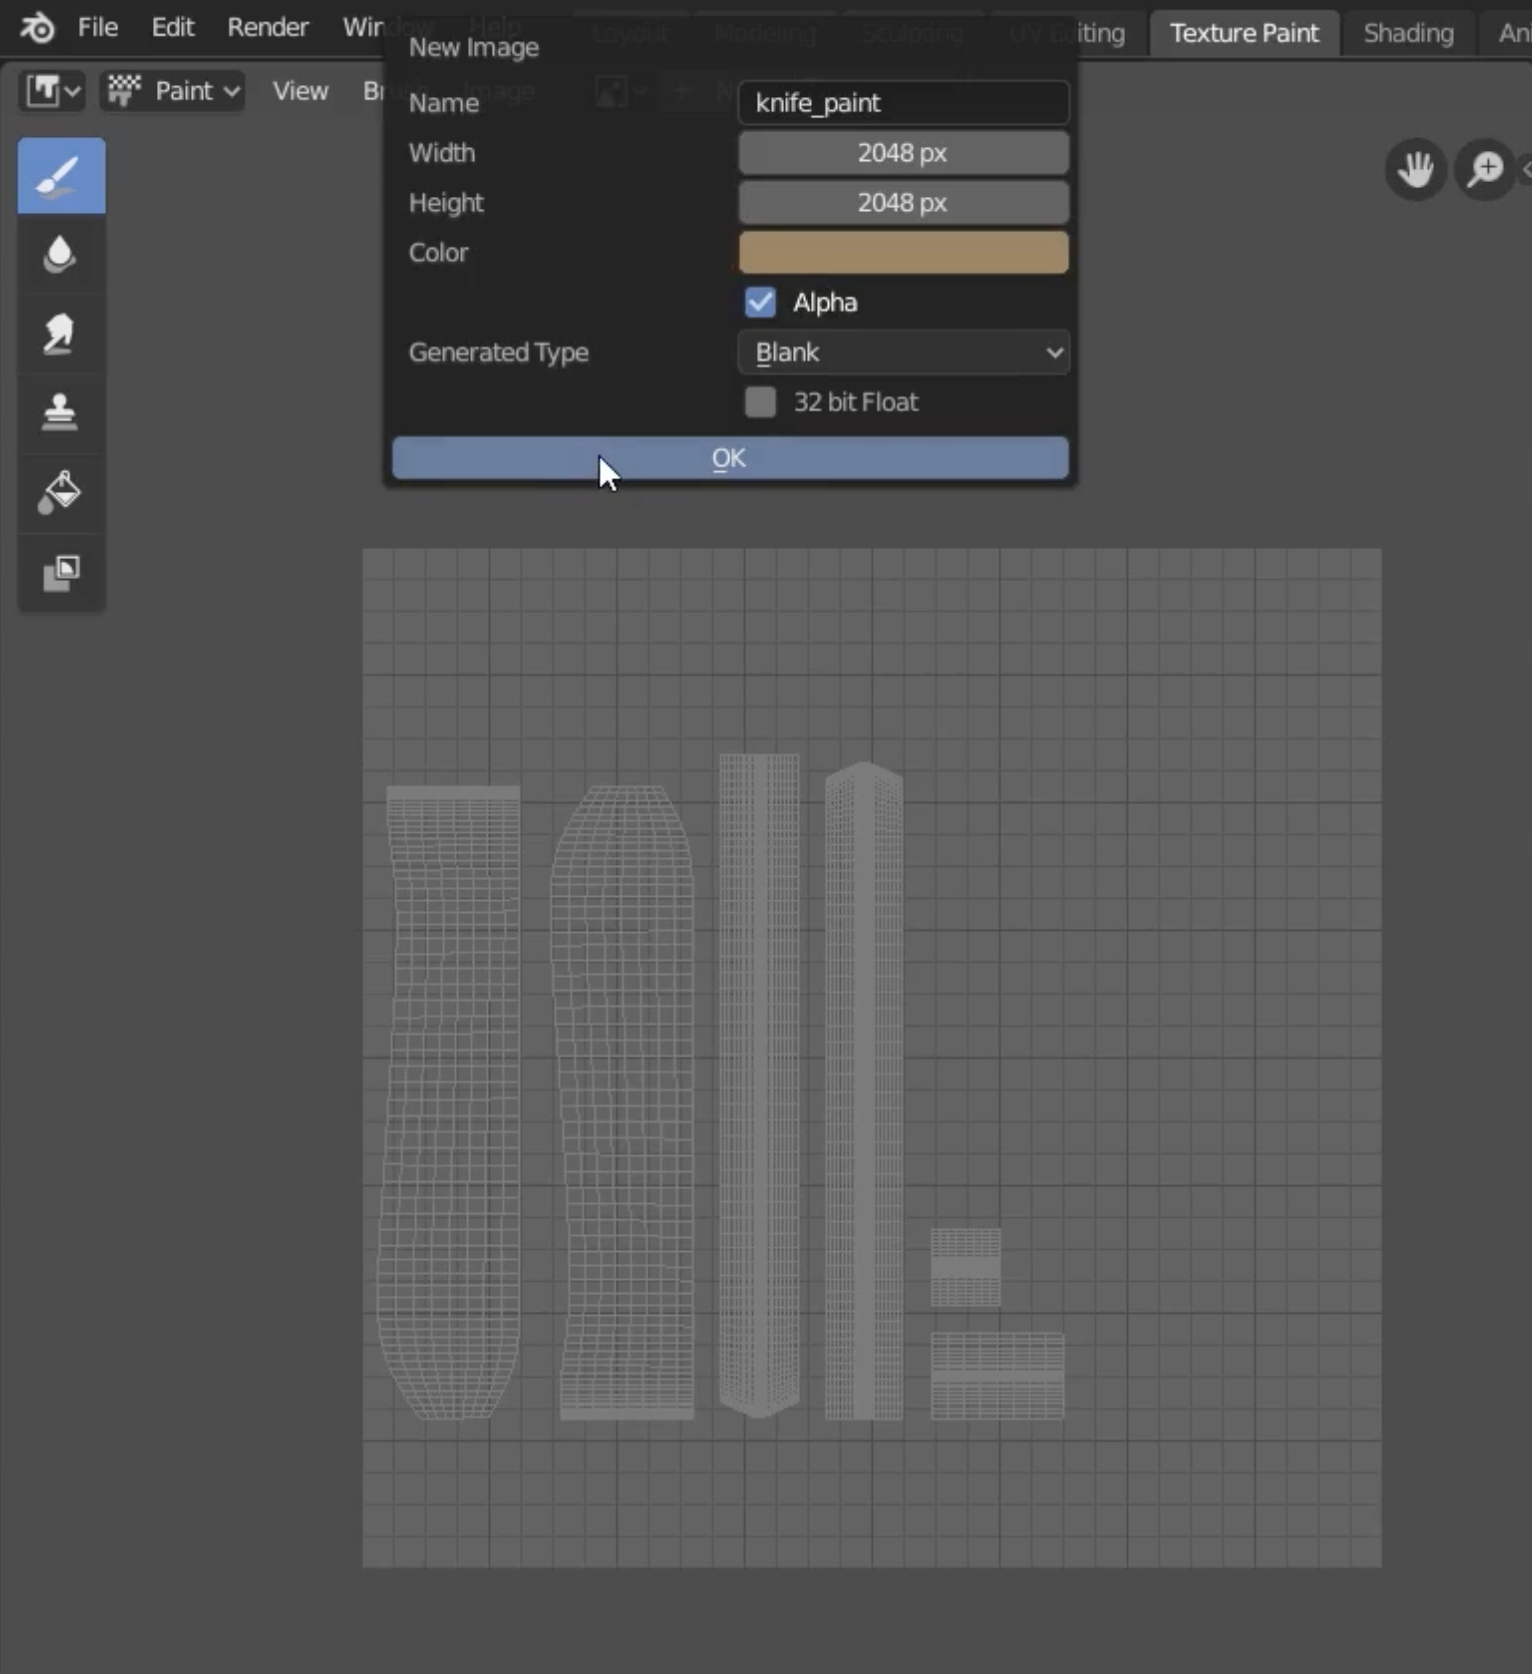
- Add a new image, add its name, resolution and base color
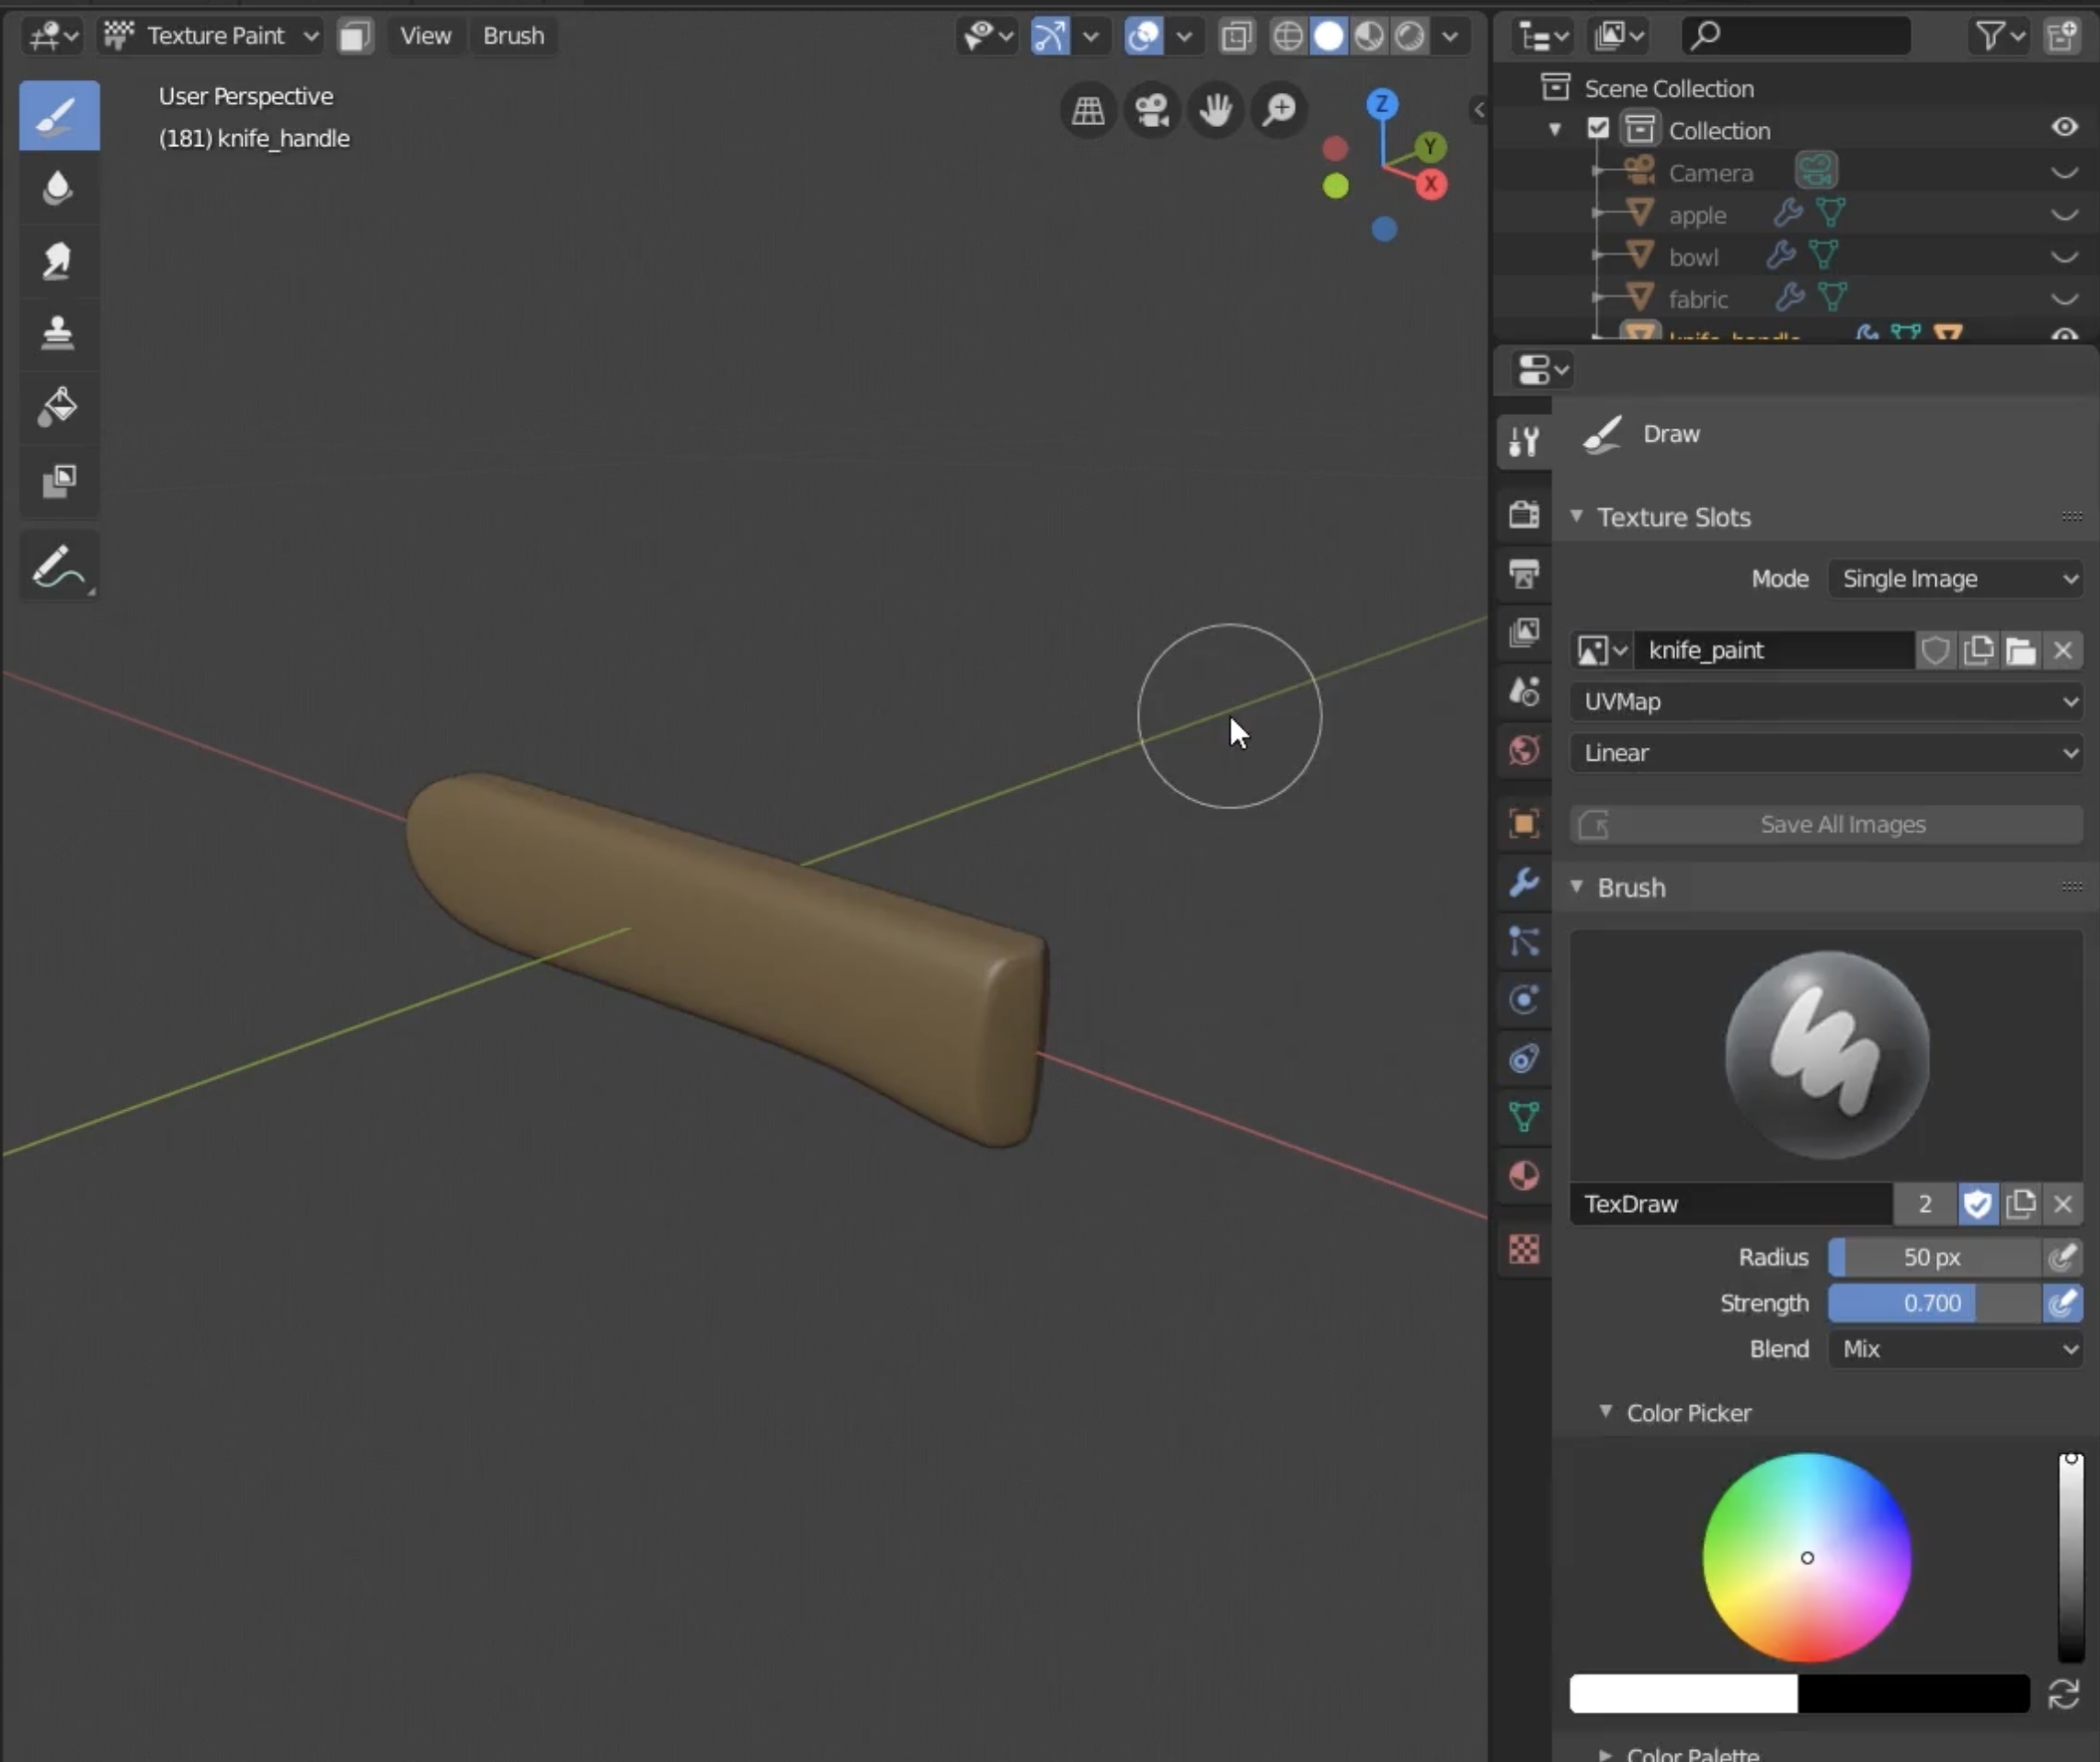
- In order to link the created image on the left hand side – image editor view to the texture paint view on the right hand side that contains the object then choose the top most option in the right menu – mode = single image – choose the created image in the last step from the drop down menu
- You can choose different options from the draw window in the right menu and draw directly on the object
- To project an image onto the object make the strength = 1
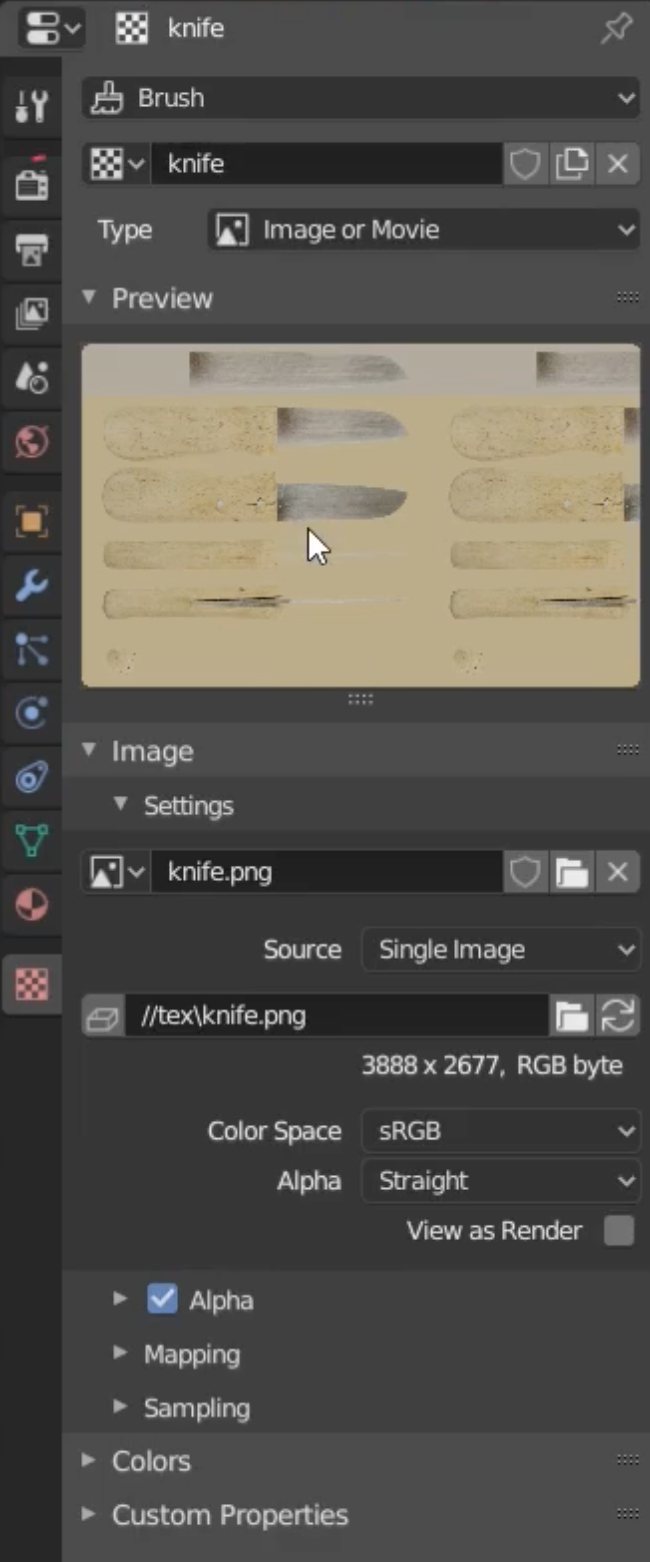
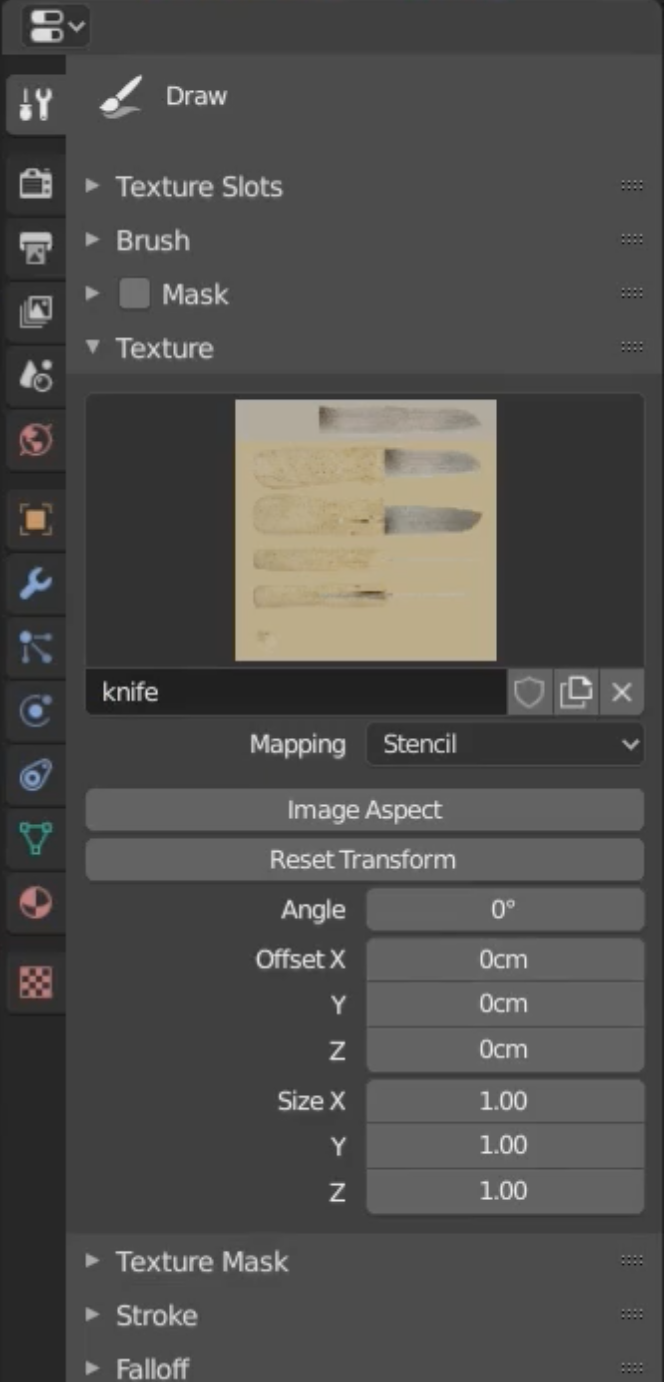
- Now go to the texture tab at the bottom of the right menu and choose an image to load
- Return back to the draw menu and choose Texture – Stencil
- You can move the image now using the right mouse onto the object and if we used now the paint it will project the image onto the object
- You can click on ‘Image Aspect’ in the right menu to have the image with the actual proportions
- The image can be scaled using Shift + Right Click
- The image can be rotated using Ctrl + Right Click
- To decrease/increase the image trasparency use ‘Display > Texture Alpha’ and enabling the ‘Brush’ beside the texture alpha means that once we paint the image will be hidden
- Make sure to click on image > save as and choose a name for the image file to make sure it is not deleted as Blender doesn’t automatically saves the image (choose PNG + RGB format)
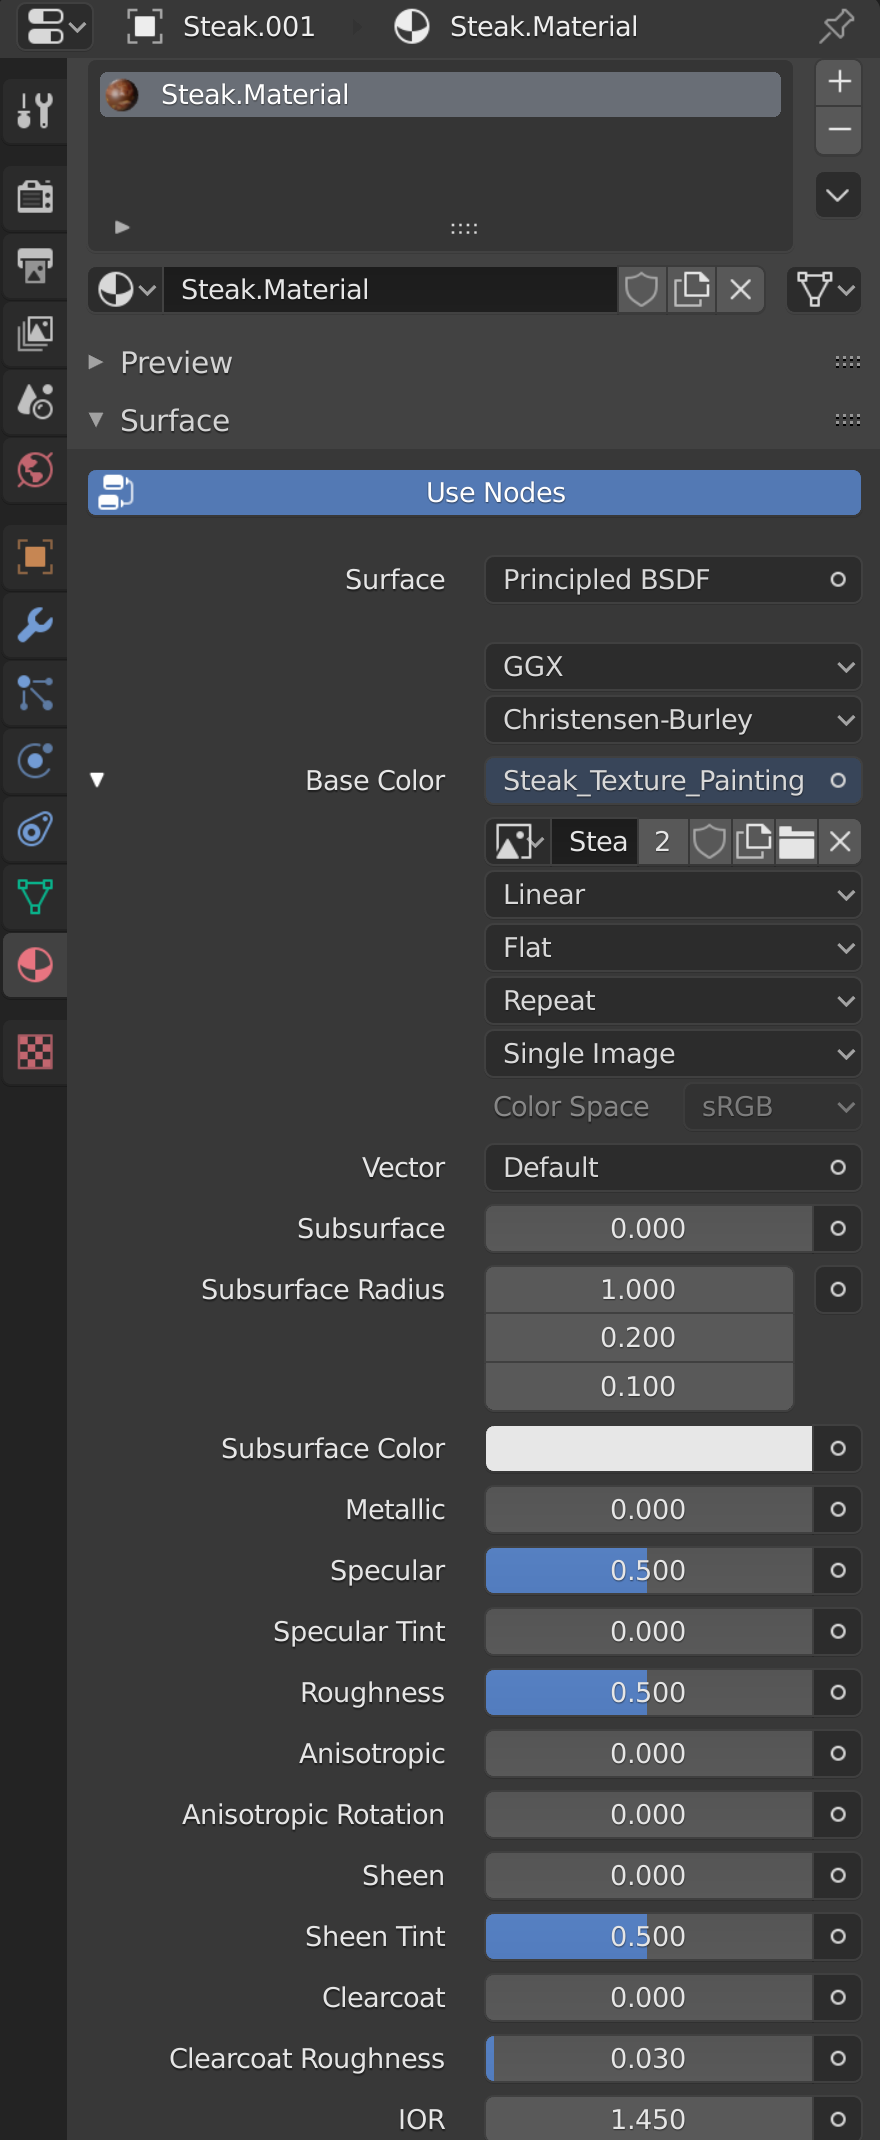
- After finalizing the texture make sure to add a new material to the object and choose the saved texture as seen in the last screen shot below
